Halloween window projection: how to set up a display from your phone
Ghosts in the window for the price of a drop cloth: pick a screen material, place the projector inside, map the window from your phone, and fix the things that usually go wrong.
By Jake Silverstein
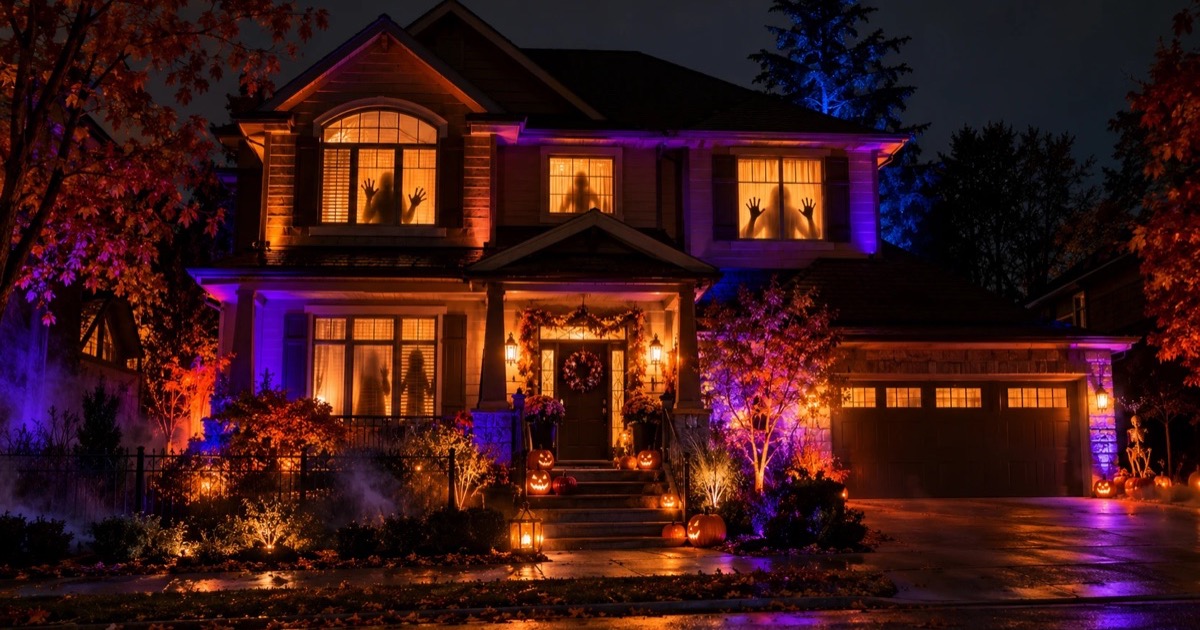
A Halloween window projection is one of the cheapest and most effective decorations you can put up. Apart from the projector, most setups cost less than $30, and the whole thing can run from your phone. The small projector you may already own is enough.
This guide covers the two ways to do it, what to use as a screen (it matters more than most people realise), where to get content, and how to get a sharp, well-fitted image. There is a troubleshooting section at the end for the things that go wrong most often.
Inside-out or outside-in: pick your method first
There are two ways to run a Halloween window projection, and the method decides everything else: where the projector sits, what screen you need, and how the display reads from the street.
Inside-out is the one most people use. You hang a translucent screen on the inside of the window, put the projector in the room behind it, and the image shines through to anyone outside. The room needs to be dark, but the projector stays dry and you can adjust it without going outside. This guide is built around it.
Outside-in skips the screen. The projector sits on a tripod in the yard, aimed at the glass. It is quicker if the window is clear and flat, but the image is softer, the projector is exposed to the weather, and you have to walk outside every time you want to adjust something.
What you need
| Item | What to look for |
|---|---|
| Projector | Any projector with an HDMI input. After dark, with the room dark, a small portable projector is enough for a window; we use the Nebula Capsule 3 Laser. Go brighter if the window faces a bright street or you want to start before full dark. Resolution barely matters; 720p is fine. |
| Screen material | A white drop cloth is the default. Full comparison in the next section. |
| Tripod | Any camera tripod works. Keep the projector level with the window, not tilted up from the floor. |
| Content | A phone with Lazy Lighting, a laptop, or a USB stick in the projector's media player. |
| Connection | USB-C to HDMI for newer iPhones and Android phones, Lightning to HDMI for older iPhones. Wireless works too: AirPlay from an iPhone, Smart View on many Android phones, or Lazy Lighting Link on a Google TV projector. |
Choosing a screen material
The screen is where most setups go wrong. A washed-out or uneven image is almost always a screen problem, not a projector problem.
- White drop cloth. The right starting point for most people. It costs a few dollars at a hardware store, spreads the light evenly and is easy to cut to size. Pull it taut across the inside of the window frame; a wrinkled screen looks bad no matter how good the projector is.
- White shower curtain liner. Thinner, so the image is a little sharper. The catch is a bright hotspot in the middle if the projector is closer than about 1.5 metres; move it back or switch to the drop cloth.
- Sheer white curtain or netting. Lets some light through for a softer glow from outside. Good for a subtle display, not for saturated colour.
- Rear-projection film. Made for exactly this and noticeably sharper than fabric. A window-sized sheet costs around $20 to $40 and is worth it if you will reuse the setup every year.
Where to get content
- YouTube. Hours of free Halloween loops made for window displays. Search "halloween window projection loop". Quality varies, and a phone or laptop has to keep streaming all evening.
- AtmosFX. The best-known paid Halloween animation packs, designed for inside-out windows. They download as video files you can put on a USB stick or play from your phone.
- Lazy Lighting. A projection mapping app for iPhone, iPad and Android with 45 built-in Halloween scenes (three on the free plan). You fit the scene to the window's exact shape on your phone, so nothing spills onto the wall, with no files or laptop to manage. Disclosure: we make Lazy Lighting. It is built for single-projector setups, so it won't suit a multi-projector rig.
How to set it up
- 1
Hang the screen. Cut the material to the window size with a few centimetres of overlap on each edge. Fix it to the inside of the frame with command strips or a batten top and bottom, pulling it taut first.
- 2
Place the projector. Set it on a tripod inside the room, pointing straight at the screen. The further back it sits, the bigger the image. Because people watch from the other side, switch the projector to rear projection mode so text and faces aren't mirrored.
- 3
Kill the room lights. Every light in the room washes out the image. Switch off lamps, close doors to lit hallways and block light leaking in around the window frame.
- 4
Connect and pick a scene. Plug your phone into the projector or connect wirelessly, open Lazy Lighting and choose a Halloween scene, or play your own loop.
- 5
Fit it to the window. Focus the lens, then drag the corners of the shape in the app onto the corners of the window so the scene fills the glass exactly. Turn the projector's auto keystone off so it doesn't fight the mapping.
- 6
Check from the street. Walk outside before you call it done. What you see from the sidewalk is often different from what you see in the room, and alignment or screen problems show up straight away.
A few things that make a real difference
- Wait for dusk. Projection needs darkness. If you have to start earlier, block the area around the window with dark fabric.
- Use a seamless loop. A visible jump at the end of a loop makes the whole display feel cheap. Most purpose-made loops are seamless; trim the last frames in CapCut or iMovie if yours isn't.
- Add quiet sound. A Bluetooth speaker with low ambient sound, like wind or a distant drone, adds a lot. Jump-scare sounds get repetitive fast.
- Keep everything still. If the tripod gets nudged, the image drifts off the window. Weigh it down with a sandbag or hang a weight from its centre hook.
- Keep the phone awake. Plug the phone into a charger, and on iPhone set Auto-Lock to Never so it doesn't sleep in the middle of the evening.
When things go wrong
- The image looks washed out. The room isn't dark enough. Look for light under doors, from streetlights through uncovered glass, or from the projector's own standby light. If the room is dark and it's still weak, you need a brighter projector.
- There's a bright spot in the middle. The screen is too thin and the projector too close. Move it back or switch to a thicker drop cloth.
- Faces and text are backwards. Turn on the projector's rear projection mode.
- The USB stick isn't recognised. Many projectors only read FAT32-formatted drives with H.264 video. Re-encode with HandBrake (free) and reformat the drive.
- Edges are blurry but the centre is sharp. The screen isn't flat. Re-hang it with more tension at the edges or add a batten along the bottom.
Want to go bigger?
A window is a great first project. When you're ready to map your front door, several windows or the whole front of the house, the same phone-based approach scales up; outdoor displays just need a much brighter projector.
Halloween projection mapping for the whole house →Frequently asked questions
- What projector do I need for a Halloween window projection? Any projector with an HDMI input. After dark, with the room dark, a small portable projector like the Nebula Capsule 3 Laser we use is enough for a window. Go brighter if the window faces a bright street or you start before dark.
- What can I use as a screen? A white drop cloth or shower curtain liner is the easiest option. Sheer curtains and netting give a softer glow; rear-projection film gives the sharpest image but costs more.
- Can I do it from my phone? Yes. Connect your phone to the projector with an HDMI adapter or wirelessly, then use an app like Lazy Lighting to play a scene and fit it to the window. No laptop or USB stick needed.
- Does window projection work in daylight? Not well. Switch the display on at dusk, or block the area around the window with dark fabric if you want to start earlier.